Templates
The Templates tab allows administrators to create reusable communication or document templates that can be used throughout the component. Templates help standardize messages, emails, and documents that are automatically generated by workflows inside the system.
Instead of manually writing the same message repeatedly, administrators can define a template once and reuse it whenever a workflow event occurs. This ensures that all system communications remain consistent, structured, and automated.
Templates are commonly used for:
- Email notifications
- Invoice formats
- Vendor registration confirmations
- Workflow alerts
- System-generated documents
For example, when a vendor registers in the system, a workflow can automatically send a Vendor Registration Email using a predefined template.
Opening the Templates Section
Step 1: Open the Components section from the left navigation panel.
Step 2: Select the component where the template should be created.
Step 3: Click the Templates tab located in the top configuration menu.
Once the Templates tab opens, the system displays a list of all templates created for that component.
Each template appears as a template card.
For example, the interface shows a template named:
Vendor Registration Email
This means a reusable email template has already been created for vendor onboarding notifications.
Creating a New Template
To create a new template:
Step 1: Click Create New Template in the top-right corner.
Step 2: The template configuration interface opens.
Step 3: Enter the required template information such as name and description.
Step 4: Define the template content using the editor.
Step 5: Save the template.
Once saved, the template becomes available for use in workflows and automated communications.
Template Editor Interface
After creating or opening a template, the system displays the Template Editor Interface.
This interface is divided into several key sections that allow administrators to design and preview the template.
The main sections include:
- Template Name and basic configuration
- HTML Editor
- Template Preview
- Data Input Panel
- Table Schema Viewer
Each section plays a role in building and testing the template.
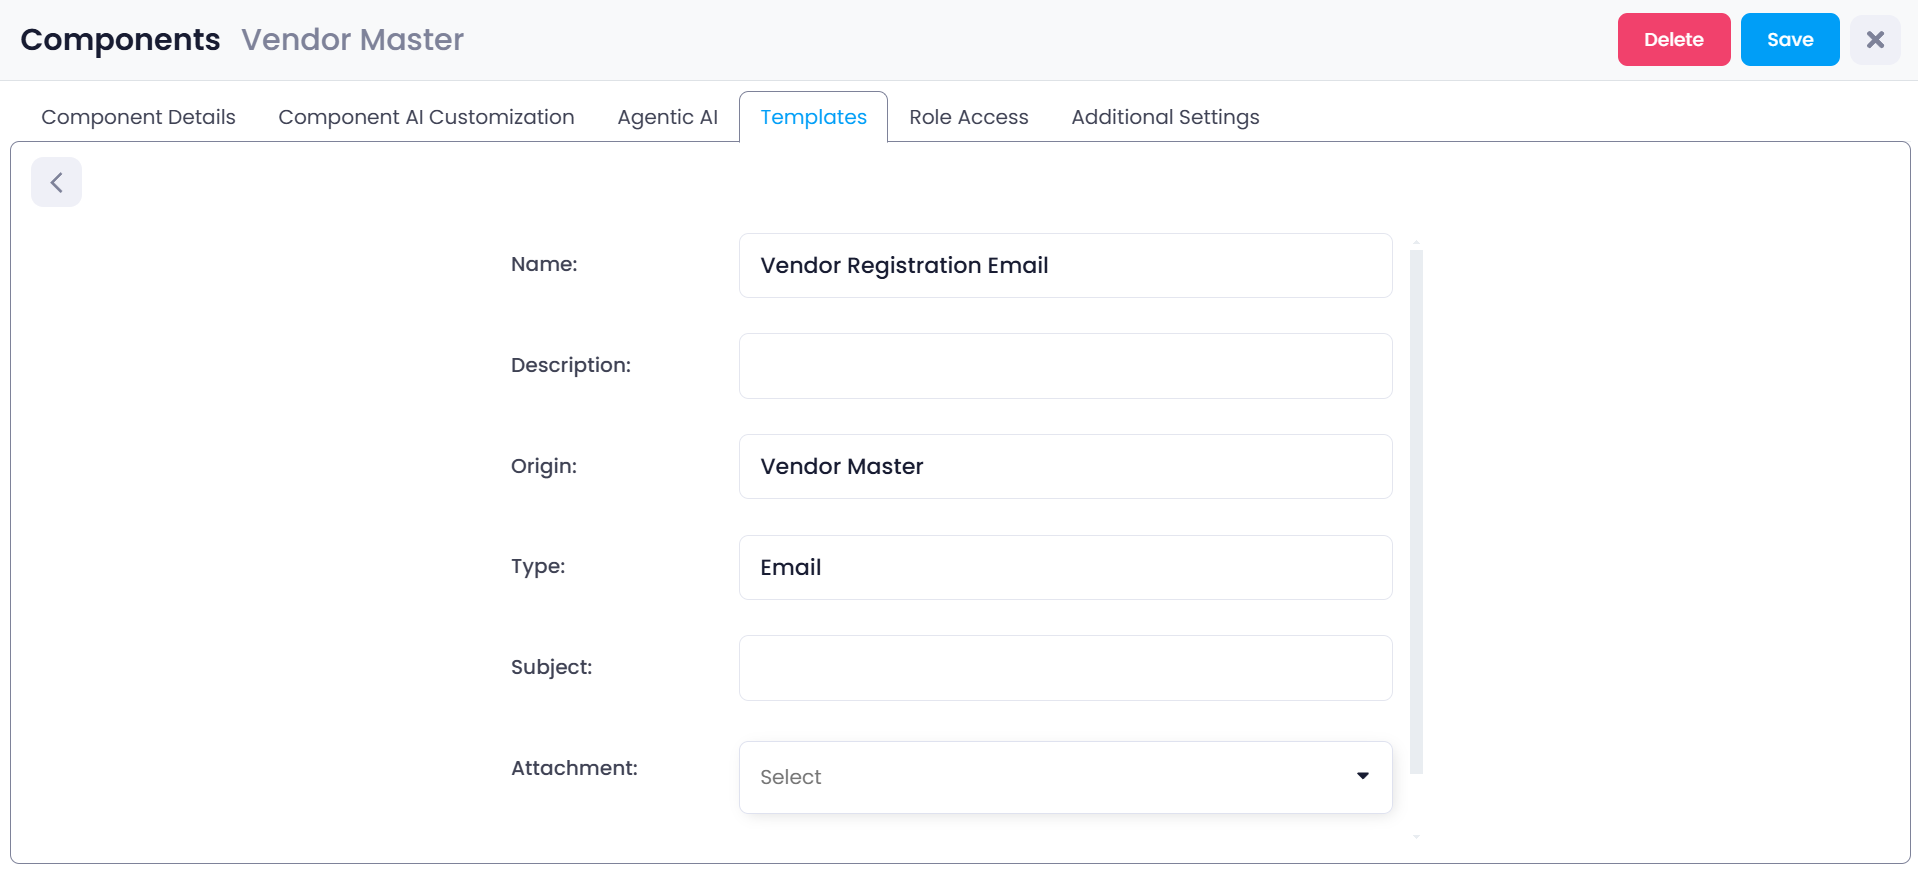
Template Name
The Name field identifies the template inside the system.
This name helps administrators locate the template when configuring workflows or notifications.
Examples of template names include:
- Vendor Registration Email
- Invoice Notification
- Purchase Request Approval
- Vendor Payment Confirmation
A clear and descriptive name helps administrators easily understand the purpose of the template.
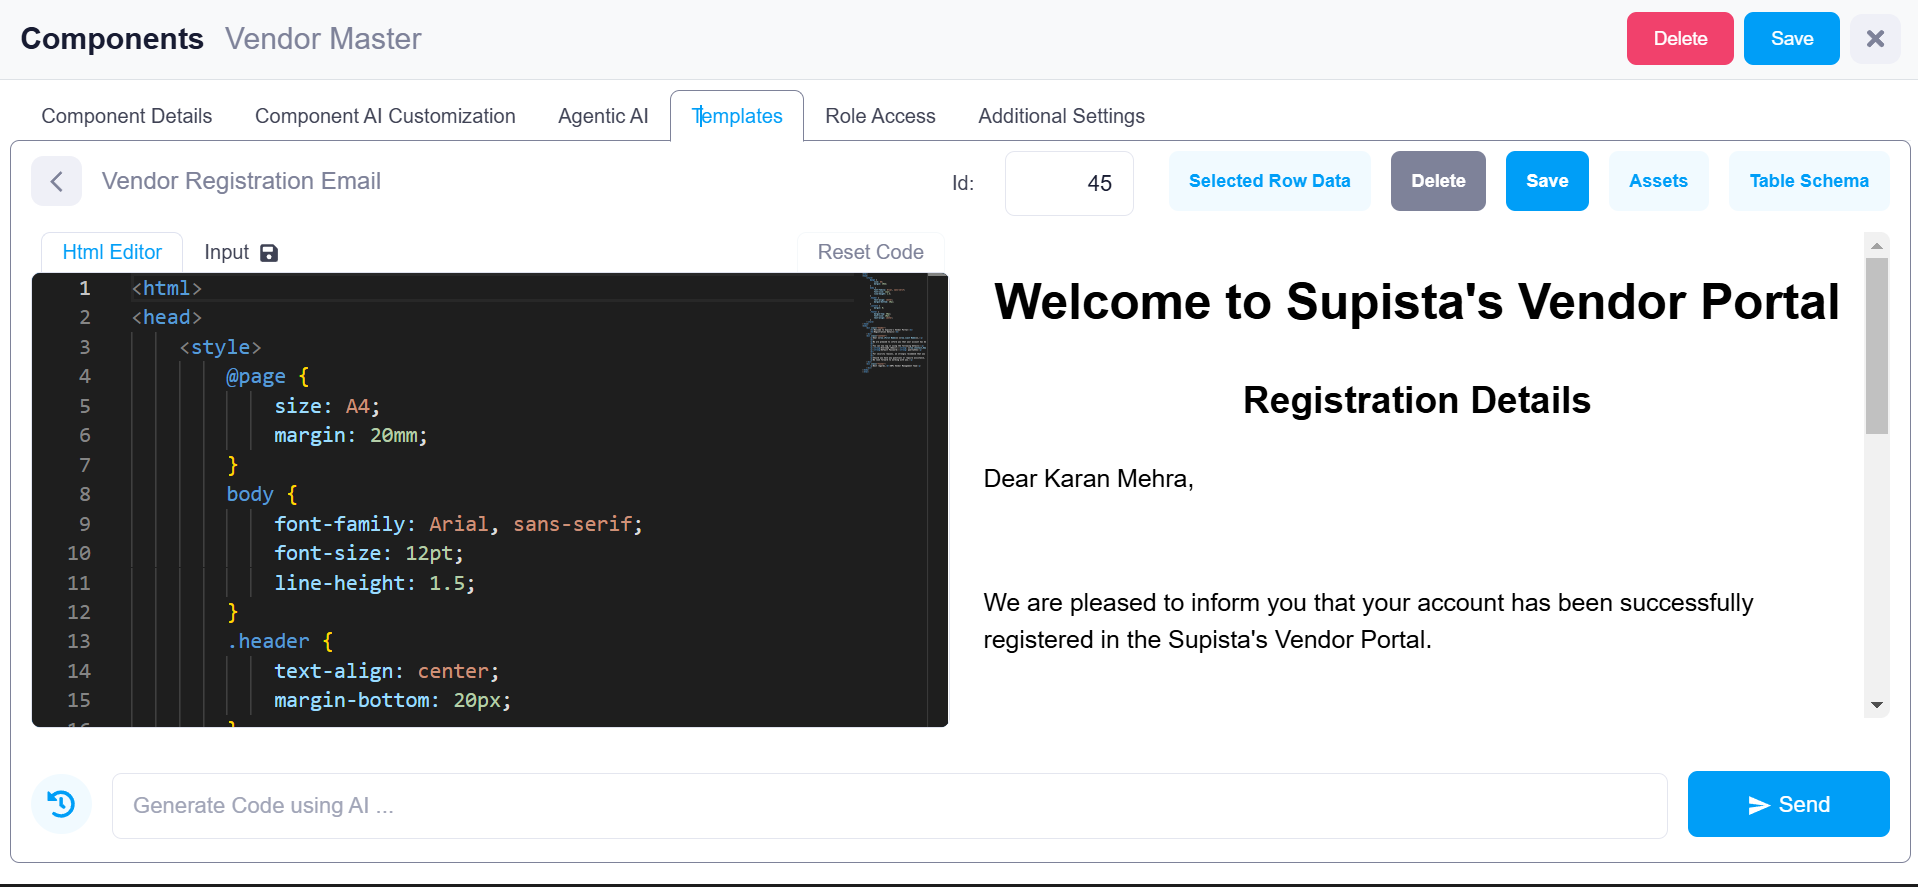
HTML Editor
The HTML Editor is the main workspace where the template content is created.
This editor allows administrators to write HTML code that defines the structure and appearance of the message or document.
Inside the HTML editor, administrators can define:
- Layout
- Headings
- Text formatting
- Images
- Buttons
- Styling
For example, the HTML may contain elements such as:
- Company logo
- Email title
- Greeting message
- Dynamic data fields
- Footer information
Because the editor supports full HTML, administrators have complete control over how the template looks when it is sent or generated.
Template Preview Panel
On the right side of the interface, the system displays a live preview of the template.
As administrators edit the HTML code, the preview panel updates to show how the final template will appear.
In the example shown in the interface, the preview displays a sample layout containing:
INVOICE
Edit Html to Create Email Template
This preview allows administrators to verify that the design and formatting appear correctly before the template is used in the system.
Using Data Inside Templates
Templates often include dynamic data fields that are filled automatically when the template is triggered.
For example, a vendor email template may include values such as:
- Vendor Name
- Registration Date
- Contact Email
- Address
These values are retrieved from the component's data tables when the template is generated.
Selecting Data for the Template
At the top of the interface, administrators may see a field labeled Id.
This option allows administrators to select a specific record from the database in order to preview how the template will appear with real data.
For example, selecting a vendor record will populate the template with that vendor’s details.
This helps verify that dynamic data fields are displayed correctly.
Selected Row Data
The Selected Row Data button allows administrators to view the data associated with the selected record.
This is useful when testing templates because administrators can confirm which fields are available for use.
For example, the row data may include fields such as:
- Vendor_Name
- Address_Line_1
- City
- State
- Contact_Email
These fields can be inserted into the HTML template so that the system automatically fills them when generating the message.
Table Schema Viewer
If administrators need to see all available fields from the database, they can open the Table Schema viewer.
To open this window:
Step 1: Click Table Schema.
The system opens a panel that displays:
- All available tables in the system
- All columns inside the selected table
For example, the Address Master table may contain fields such as:
- Village/City
- City
- District
- PIN Code
- State
This viewer helps administrators understand which data fields can be used inside the template.
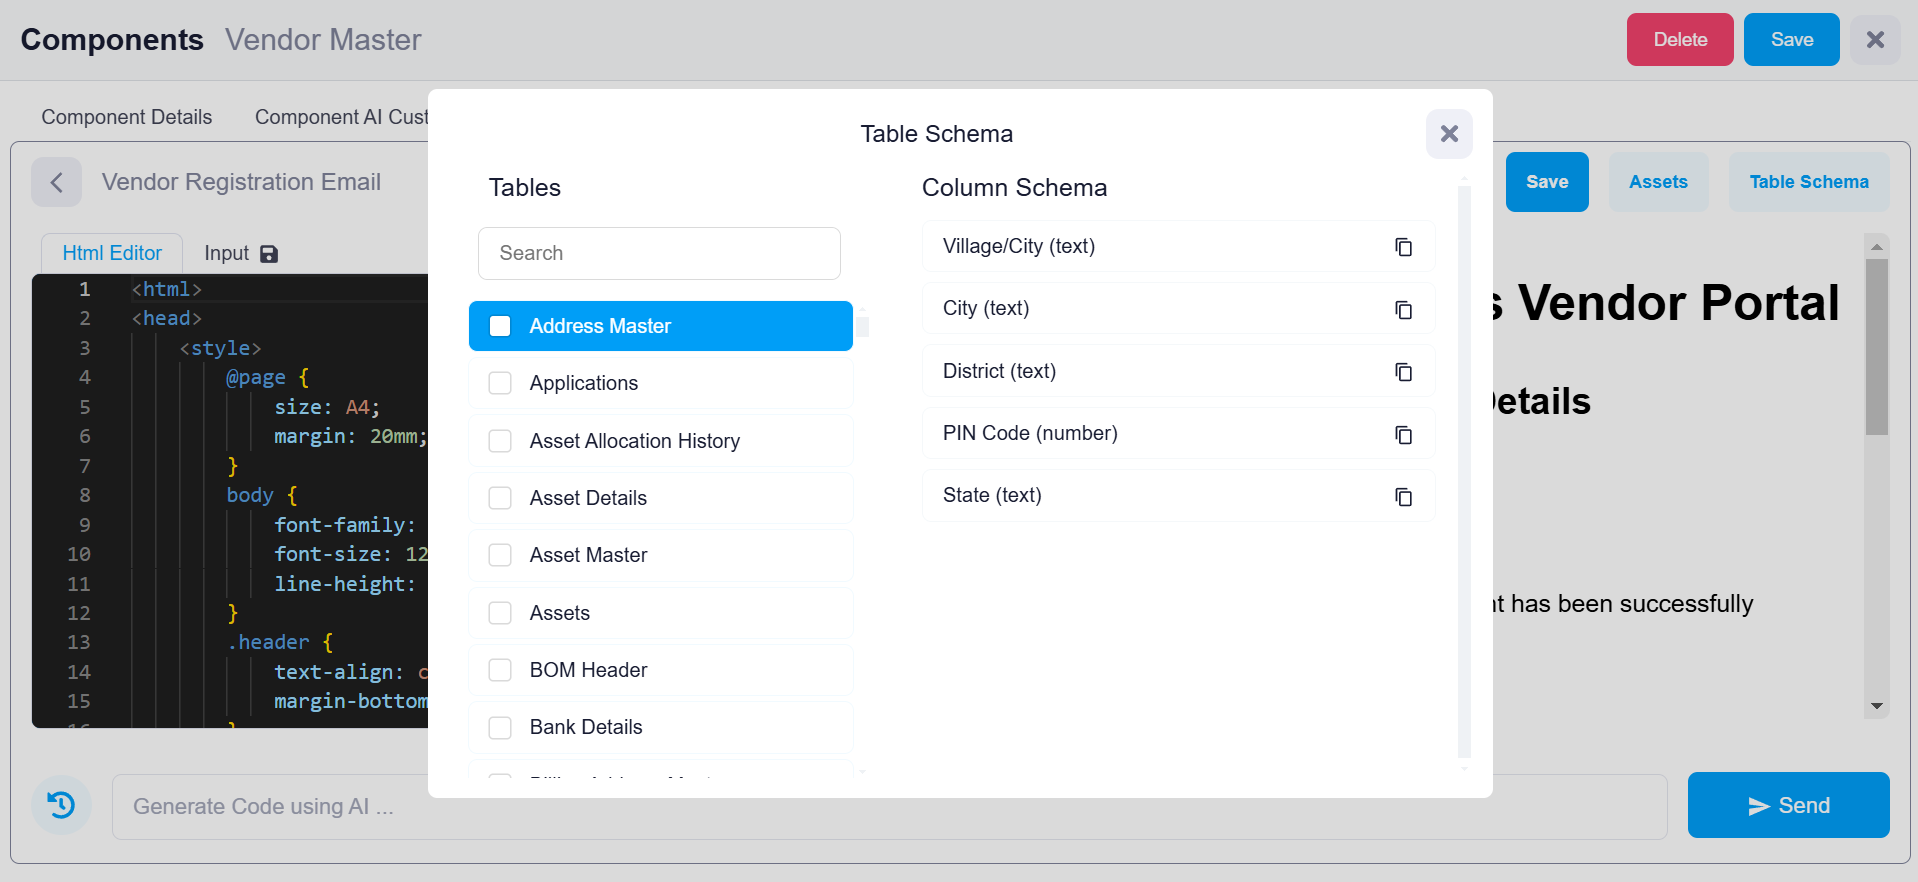
Table Schema Panel Layout
The Table Schema window is divided into two sections.
Tables List
The left panel displays a list of available database tables.
Administrators can search or browse through tables such as:
- Address Master
- Applications
- Asset Master
- Bank Details
Selecting a table reveals its column structure.
Column Schema
The right panel displays all columns contained within the selected table.
Each column represents a field that can be referenced in the template.
Examples include:
- City (text)
- District (text)
- PIN Code (number)
- State (text)
These fields can be inserted into the HTML template to dynamically display data when the template is generated.
Saving the Template
After the template has been designed and tested, the administrator must save the configuration.
Step 1: Review the template design in the preview panel.
Step 2: Confirm that all required data fields are correctly referenced.
Step 3: Click Save.
The template is now stored within the component and can be used by workflows or automated notifications.
Why Templates Are Important
Templates play a critical role in maintaining consistent system communication.
Instead of manually writing messages each time an event occurs, templates allow the system to generate standardized outputs automatically.
This provides several benefits:
- Consistent communication across the organization
- Reduced manual effort
- Faster workflow execution
- Improved system automation
For example, when a vendor registers in the system, the platform can automatically send a Vendor Registration Email using the predefined template.
This ensures that every vendor receives the same professional and structured communication.