Teams & Users
The Teams & Users section in Supista is used to manage system access and user organization. It allows administrators to create user accounts, group users into teams, and manage how permissions are distributed across the platform.
Instead of assigning permissions to every individual user, Supista uses a team-based access system. Users are placed into teams, and permissions are assigned to those teams. Any user added to a team automatically inherits the permissions associated with that team.
This approach makes permission management easier, especially when managing large organizations.
To access this section:
Step 1: Open the left navigation panel.
Step 2: Click Teams & Users.
Two subsections appear:
- Users
- Teams
The Users section manages individual user accounts, while the Teams section manages groups and their permissions.
Managing Users
To manage users in Supista:
Step 1: Open Teams & Users from the navigation menu.
Step 2: Click Users.
The Manage Users page opens and displays a table containing all user accounts in the system.
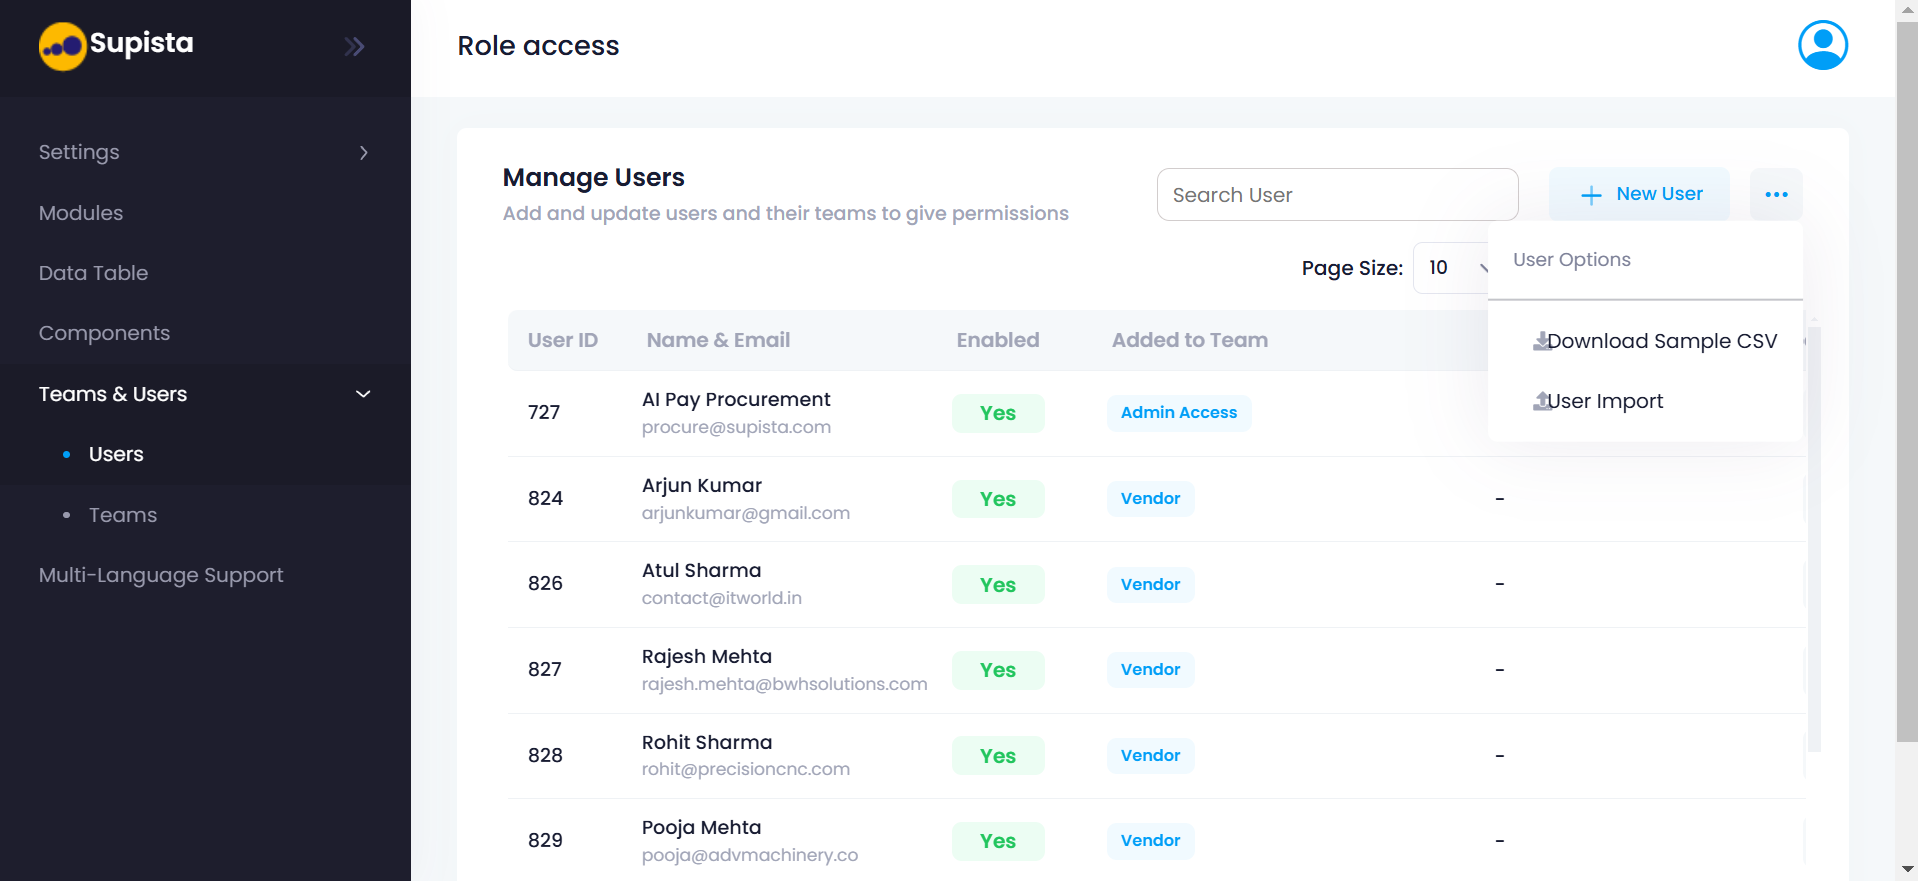
Each row in the table represents one user account. The table contains several columns:
User ID
The unique identifier assigned to the user.
Name & Email
Displays the user's full name and email address.
Enabled
Indicates whether the user account is currently active.
Added to Team
Shows which team the user belongs to.
Username
The username used by the user to log into the system.
At the top of the page there is a Search User field that allows administrators to quickly find users by name or email.
Next to the search bar is the New User button, which is used to create new user accounts.
Creating a New User
To create a new user account:
Step 1: Click New User.
A form titled Add New User appears.
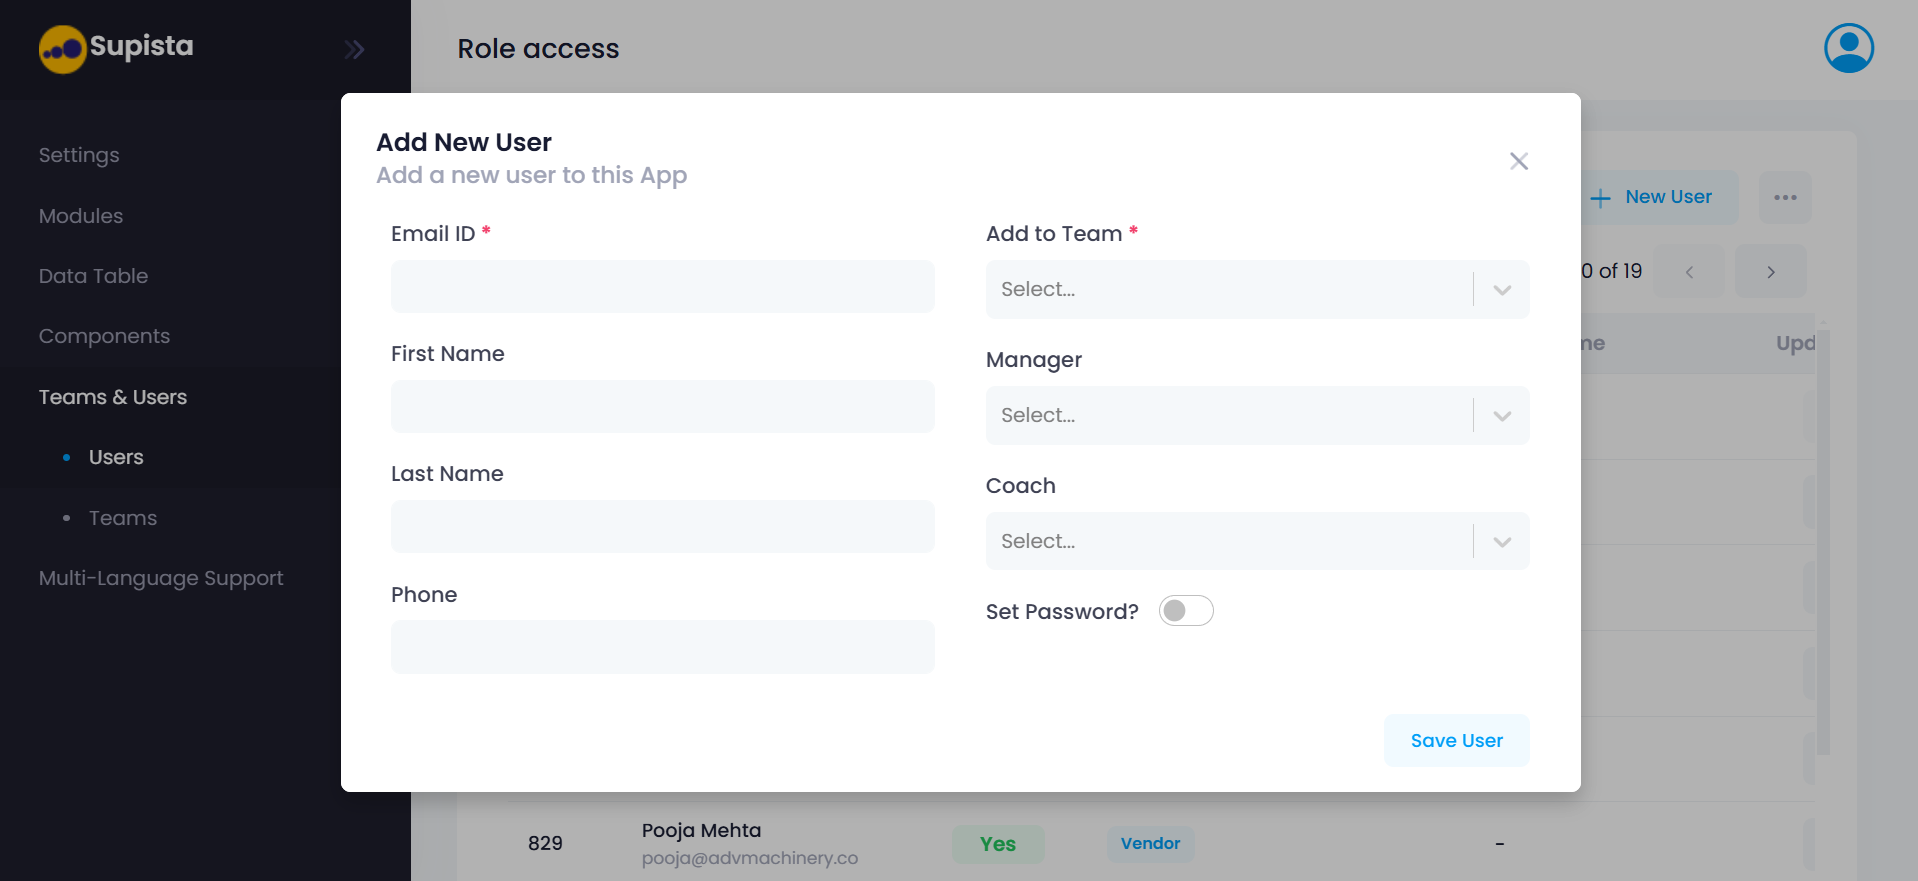
This form collects the information required to create the user account.
Email ID
The Email ID field is required. It serves as the primary identifier for the user and may also be used for login and communication.
First Name and Last Name
These fields store the user’s name and help identify the user within the system.
Phone
The Phone field stores the user's contact number.
Add to Team
The Add to Team field is required. It determines which team the user will belong to.
The selected team automatically defines the permissions and access rights assigned to the user.
Manager and Coach
The Manager and Coach fields allow administrators to define hierarchical relationships between users.
These relationships may be used for:
- reporting structures
- workflow approvals
- organizational visibility
Set Password
The Set Password toggle allows administrators to manually assign a password.
If disabled, the system may generate credentials automatically or send an invitation email to the user.
After entering the required information:
Step 2: Click Save User.
The new user will be added to the system and will appear in the user list.
Importing Users
Supista also allows administrators to import multiple users at once.
Next to the New User button there is an options menu represented by three dots.
Clicking this menu shows two options:
- Download Sample CSV
- User Import
Download Sample CSV
This option downloads a template file that shows the required structure for importing users.
Administrators can fill in user details such as:
- name
- team assignment
User Import
Once the CSV file has been filled, administrators can upload it using User Import to create multiple users at the same time.
This feature is useful when onboarding large teams or entire departments.
Managing Teams
The Teams section is used to create and manage user groups.
Teams represent roles or departments within an organization. Permissions are assigned to teams rather than individual users.
To access this section:
Step 1: Open Teams & Users from the navigation panel.
Step 2: Click Teams.
The Manage Teams page opens.
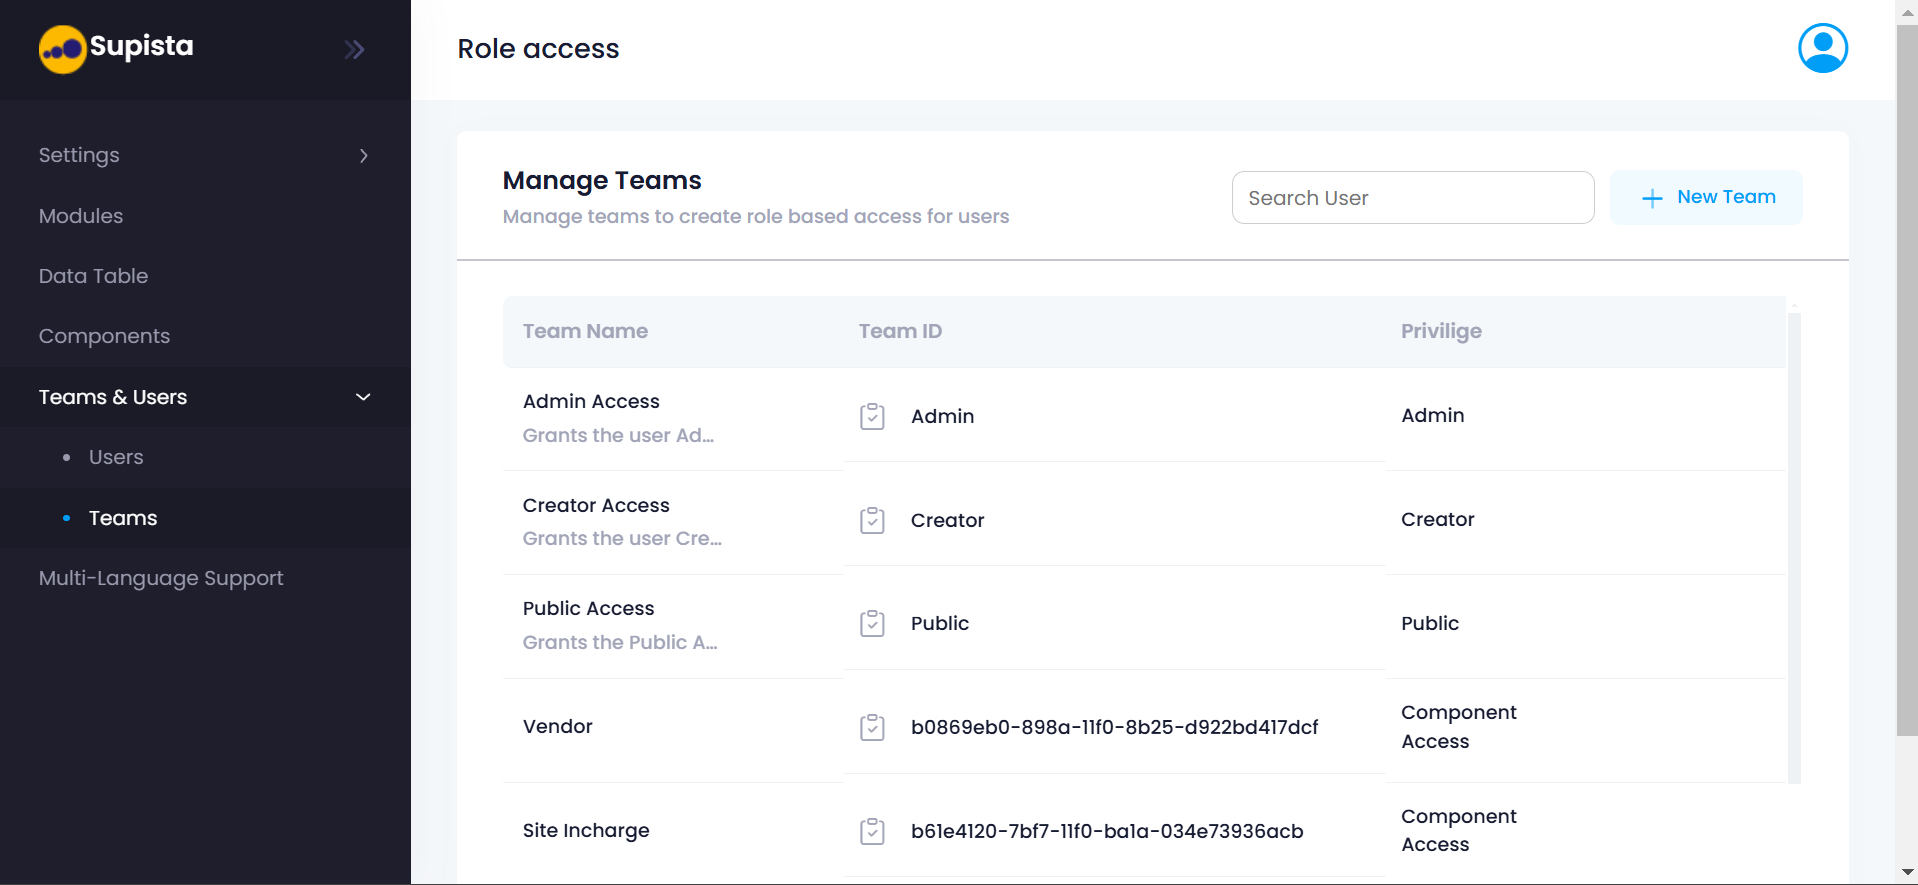
This page displays a table containing all teams in the system.
Each row contains information such as:
Team Name
The name assigned to the team.
Team ID
A unique system identifier for the team.
Privilege
Indicates the level of access assigned to the team.
Examples of teams may include:
- Admin
- Creator
- Procurement
- Finance
A Search field at the top of the page allows administrators to locate teams quickly.
To create a new team, click New Team.
Creating a Team
Clicking New Team opens the Create New Team page.
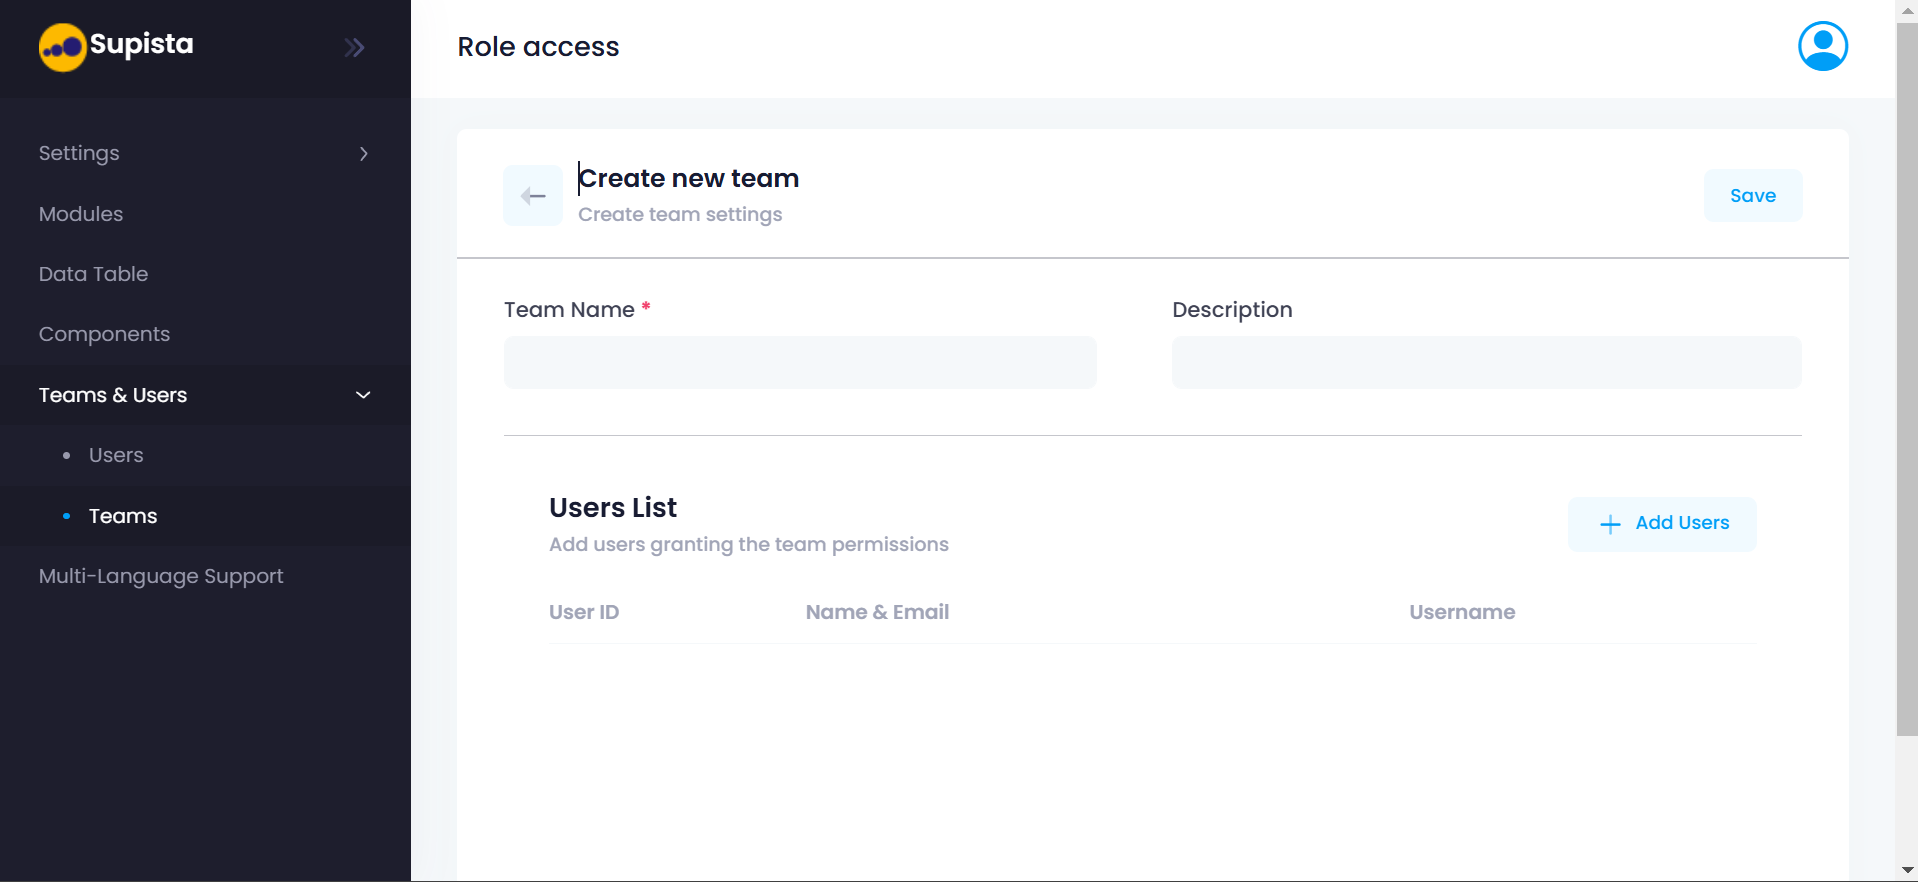
This page allows administrators to define a team and assign users to it.
Team Name
The Team Name field is required.
The name should clearly describe the role of the team.
Examples:
- Procurement Managers
- Finance Department
- Vendor Management
Description
The Description field is optional.
It can be used to describe the purpose of the team or the responsibilities associated with it.
Below these fields is the Users List section, where administrators can assign users to the team.
Adding Users to a Team
To add users:
Step 1: Click Add Users.
A window titled All Users List appears.
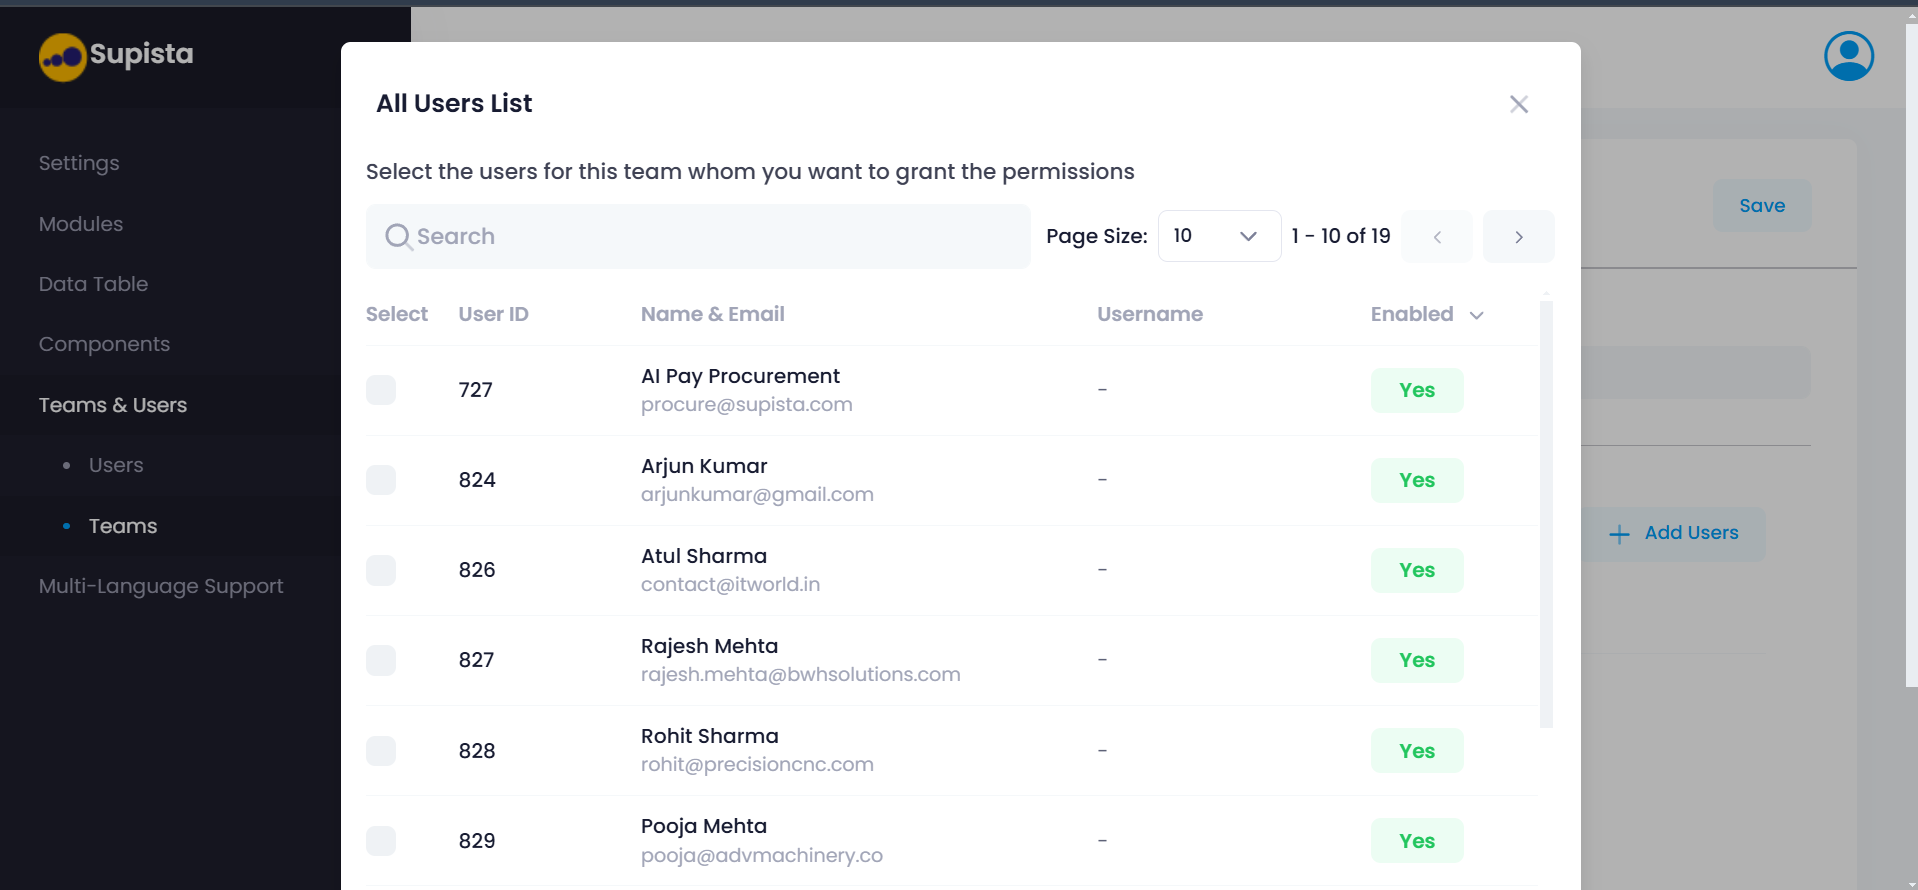
This window displays a list of all available users in the system.
The table includes columns such as:
- User ID
- Name & Email
- Username
- Enabled
Each user row includes a selection option that allows administrators to choose which users should belong to the team.
A Search field at the top of the window helps locate users quickly.
Administrators can select multiple users at once.
After selecting users:
Step 2: Confirm the selection.
Step 3: Return to the team configuration page.
Finally:
Step 4: Click Save.
The new team will be created and the selected users will automatically become members of that team.
Why Teams & Users Are Important
The Teams & Users section provides the foundation for access control in Supista.
By organizing users into teams and assigning permissions at the team level, administrators can ensure:
- consistent access management
- easier system administration
- controlled data visibility
- secure operational workflows
Instead of configuring permissions for each user individually, teams allow organizations to manage access in a structured and scalable way.